

Why a room-by-room approach works
A whole-home checklist can feel overwhelming, so most homeowners skip it entirely until something fails. Breaking maintenance down by room gives you a manageable scope each time you sit down to do it. You also catch location-specific wear patterns: bathrooms accumulate moisture damage in ways a garage never will, and a kitchen range hood collects grease that has nothing to do with the living room.
This calendar is structured around two walkthroughs per year, ideally in spring and fall. Some tasks appear in both seasons; others are specific to one. Where a task involves electrical, gas, or structural systems, the checklist flags when a licensed professional should do the work rather than a homeowner. Local permit and inspection requirements vary, so verify what your jurisdiction requires before starting any regulated work.
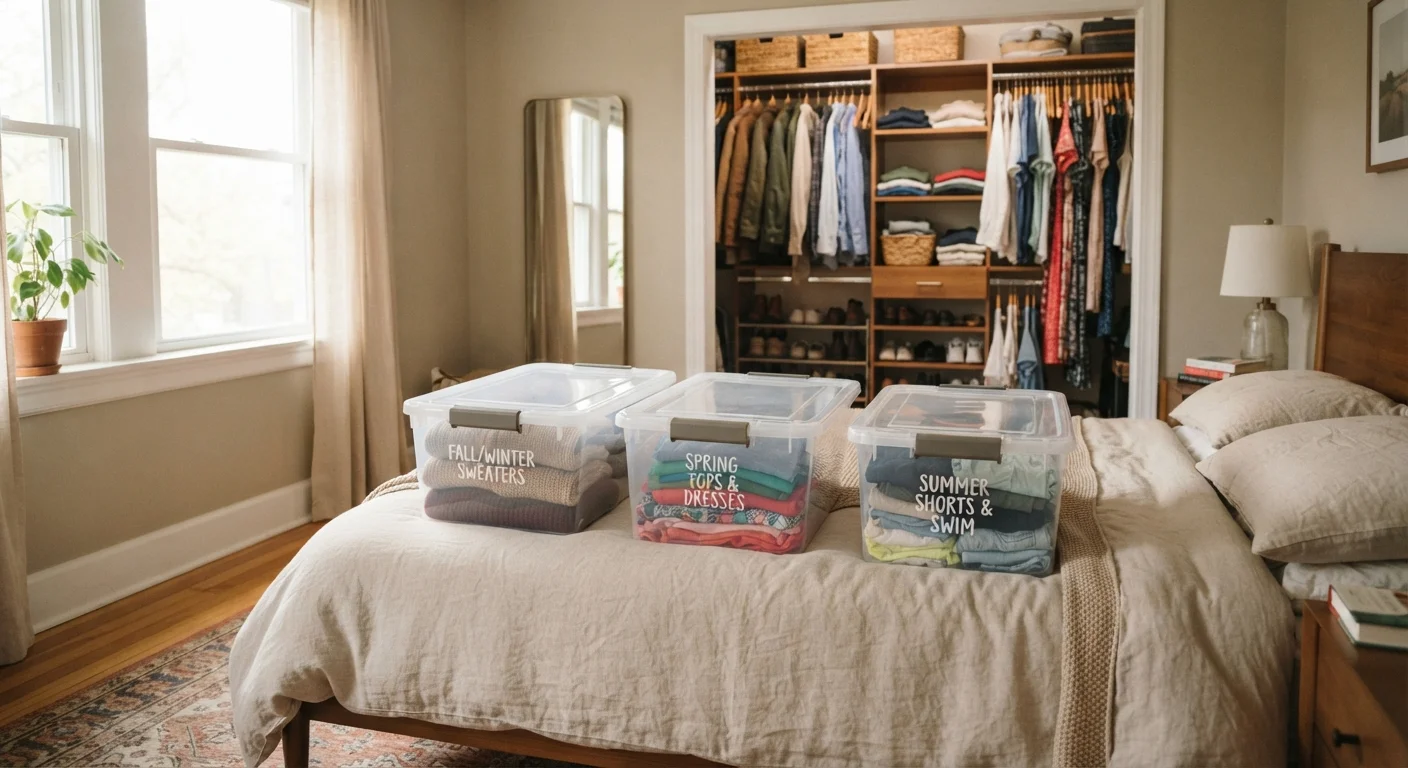
If you are also thinking through storage and seasonal organization, the seasonal wardrobe switchover checklist pairs well with a home walkthrough scheduled at the same time of year.

Room-by-room maintenance checklist
Work through the groups below in order. Check off each item as you go, and note the date and any follow-up needed. A short written log is worth the effort: it creates a record useful for insurance purposes and future home sales, as the lessons from downsizing article notes that maintenance records often come up during buyer negotiations.
Kitchen
Bathrooms
Basement and utility areas
Attic
Living and bedroom areas
Exterior (visual inspection only)
Tools to have on hand
You do not need specialized equipment for most of these tasks. The items below cover the majority of inspection and light maintenance work in this checklist.
Flashlight
Needed for inspecting attic spaces, under sinks, and behind appliances.
Screwdriver set
Used to remove vent covers, light switch plates, and appliance access panels.
Caulk gun and silicone caulk
Required for resealing bathroom and kitchen joints during the walkthrough.
Replacement smoke detector batteries
Have spares on hand so all detectors can be updated in one pass.
Shop vacuum
Useful for cleaning condenser coils, dryer vents, and basement areas.
Inspection mirror
Lets you check behind water heaters and in tight spaces without moving heavy equipment.
When to call a professional
Several items in this checklist, particularly those touching gas appliances, the electrical panel, roofing, or load-bearing elements, should be inspected or repaired by a licensed contractor. Attempting those without the right credentials can void homeowner's insurance coverage and, in some states, create liability when selling.
Gas appliances need a licensed technician
Never attempt to inspect or adjust gas line connections, burner assemblies, or venting on furnaces, water heaters, or dryers yourself. Gas-related work in most U.S. jurisdictions requires a licensed professional and may require a permit. If you smell gas, leave the building immediately and contact your gas utility from outside.
Electrical panel inspections are not DIY
Visually note whether the panel feels warm or shows signs of scorch marks, and report those observations to a licensed electrician. Do not open the panel cover yourself. Electrical work that requires permits must be completed by a licensed contractor in most states; verify your local requirements before proceeding.
Pairing a maintenance habit with sound financial planning makes the cost of repairs more predictable. The guide to building healthy money habits covers how a dedicated home repair fund fits into a broader household budget. For tech upgrades you consider during a walkthrough, this look at smart home devices helps separate genuinely useful tools from ones that tend to go unused.
This article is for general informational purposes only. It does not constitute professional contracting, legal, or financial advice. Always consult a licensed professional for work involving electrical, gas, structural, or other regulated systems, and verify local code and permit requirements before beginning any home improvement project.